What is a data layer ?
The data layer, if used properly, can be the most useful data capturing tool in your arsenal. A data layer is a JavaScript object where you store information related to an event (action) you want to track on your website.
Let’s say you’re an ecommerce website. You want to know how many people visit your product page, plus a few details about the contents of the pages : name, brand, category, price…
There are two ways you can go about doing this:
Use CSS selectors:
Your website has already the data you need, it’s in the code, and you just need to access it. Although this might seem like the most straightforward thing to retrieve data, you need to take into consideration the following constraints:
– There is a pretty good chance that the website will make changes in the code that might break your tracking. Worse yet, the data you receive is not clean, since Google might translate your website…
– If your website is too complicated, or with unclear structure, it will take you forever to get the right data.
Use the data layers (recommended):
What is a data layer?
The data layer is a JavaScript object that where you can store information that can be sent into various tools such as Google Analytics or your Facebook business Manager Account. Here is a simple example of data layer that stores information about.
<script>
window.dataLayer = window.dataLayer || [];
window.dataLayer.push({
‘event’: ‘form_submit’,
‘page_location’: ‘www.hamzaelkharraz.com/blog’
});
</script>
Contrary to using the CSS selector method, a data layer, once set up, is very unlikely to be removed, unless by mistake. Furthermore, you can access information quite easily, hence the term “layer”.

Learning to use the data layer with Google Tag Manager:
Step 1: Setting up the data layer into your website
The data layer is just the tool you will use to get the data. What is most important to you to track, depends largely on your business goals and priorities.
In this step-by-step tutorial, we are going to use this blog article as an example for setting up tracking using the data layer. Our goal is to send basic information such as post ID, post category, and the name of our article to GTM to our Google Analytics property (GA4). You can use this plugin to check the data layer used on the page.
If you have a WordPress website like this one, I recommend using this free plugin. It can generate automatically a lot of useful data layers. For other platforms, you will likely need to seek a developer’s help.
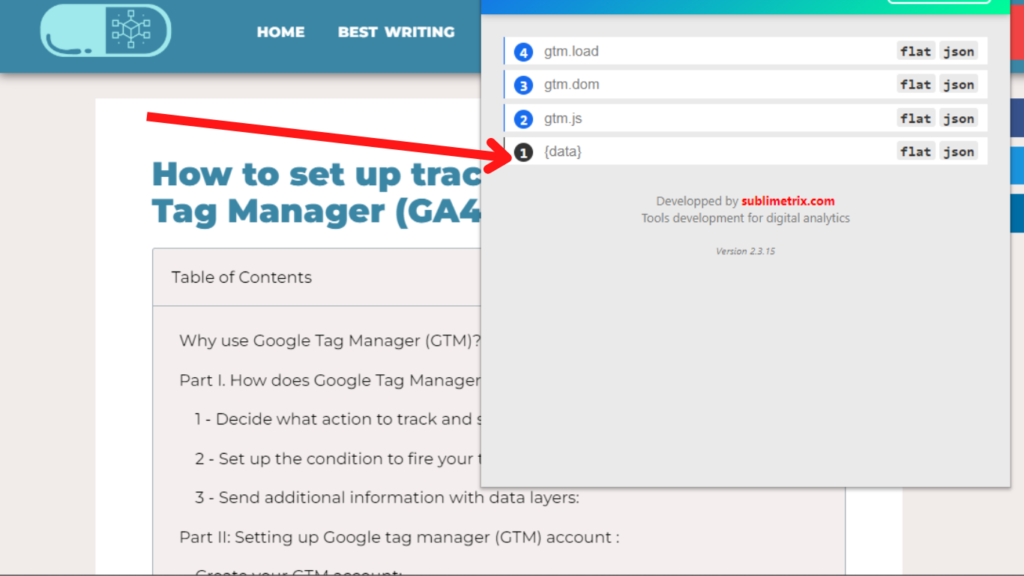
As you can see, we’ve already implemented the data layer on the blog section of the website. Let’s see what kind of data we are getting from tag manager.
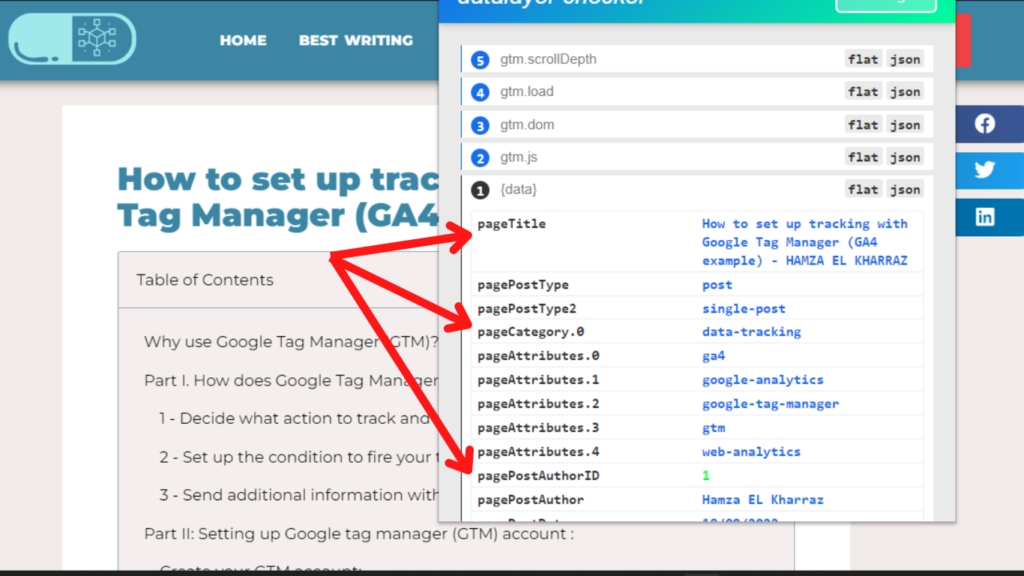
You can see that we are receiving some useful data from our website such as post title, the category of the blog, the author name, etc. Next, we are going to see how to send the data to Google Tag Manager.
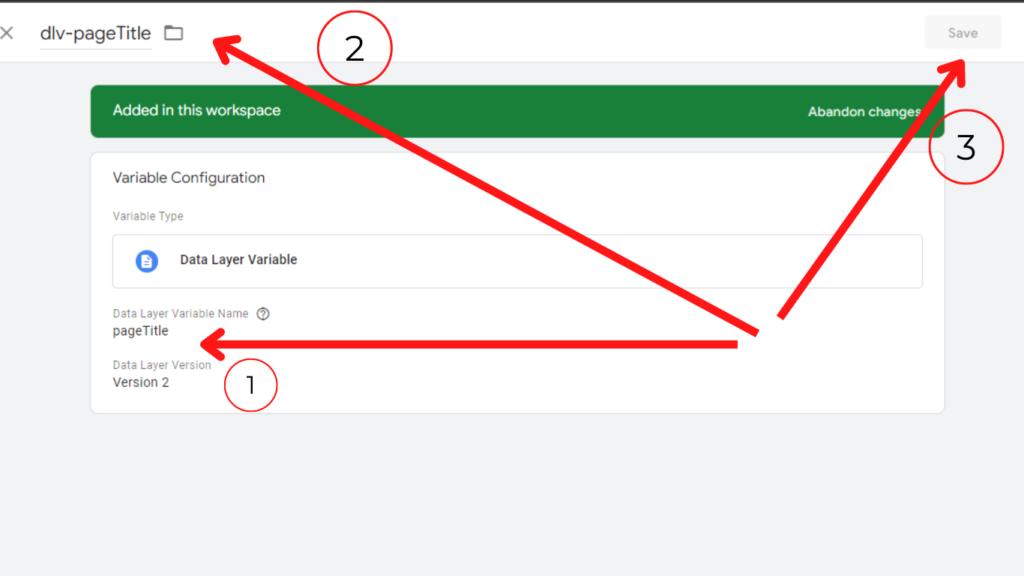
Step 2: creating variables in Google Tag Manager (GTM)
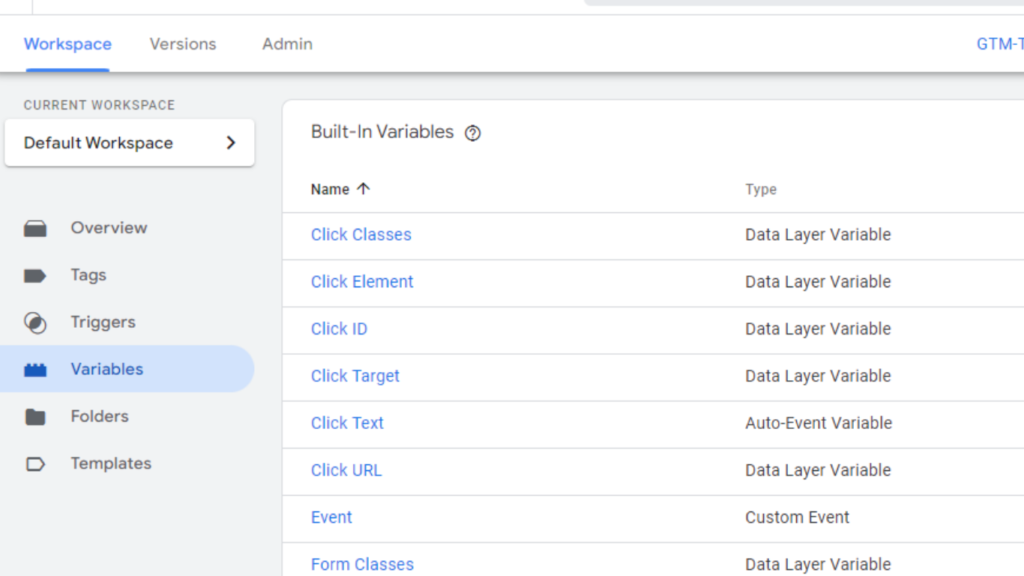
Go to the variables section of your GTM account and create a new variable
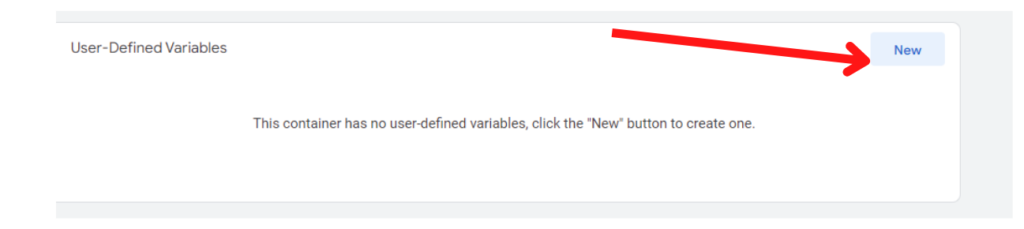
We are going to capture the page title variable from our GTM account. First, enter the variable name. Please note that the name should correspond exactly to the parameter (key) in your Data Layer. Next, set up a name for your data layer variable and save the changes.
The same process applies when adding other variables. Let’s set up our GA4 tag to send the data to our analytics account. You can follow this tutorial if you haven’t done so yet.
Step 3: create your GA4 tag:
In order to send the information to Google analytics, we need to create a specific tag for the event.
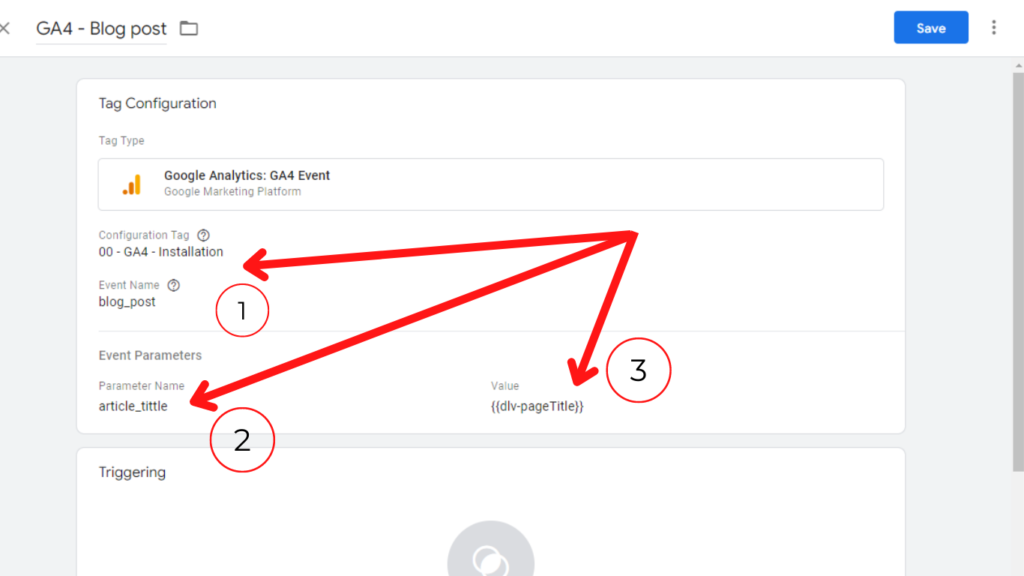
After naming the event, for example “blog_post”, you add the variable page title we created, this will ensure that each time we send data to our GA4 property, we will have the blog title associated with the event.
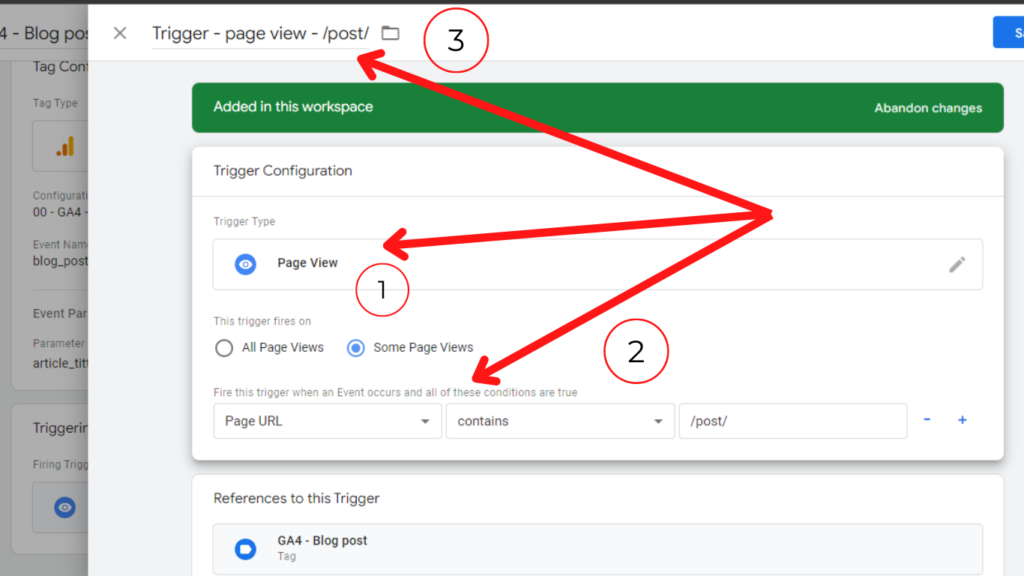
We are going first choose our trigger, which, in this case, is each time a user views a post page.
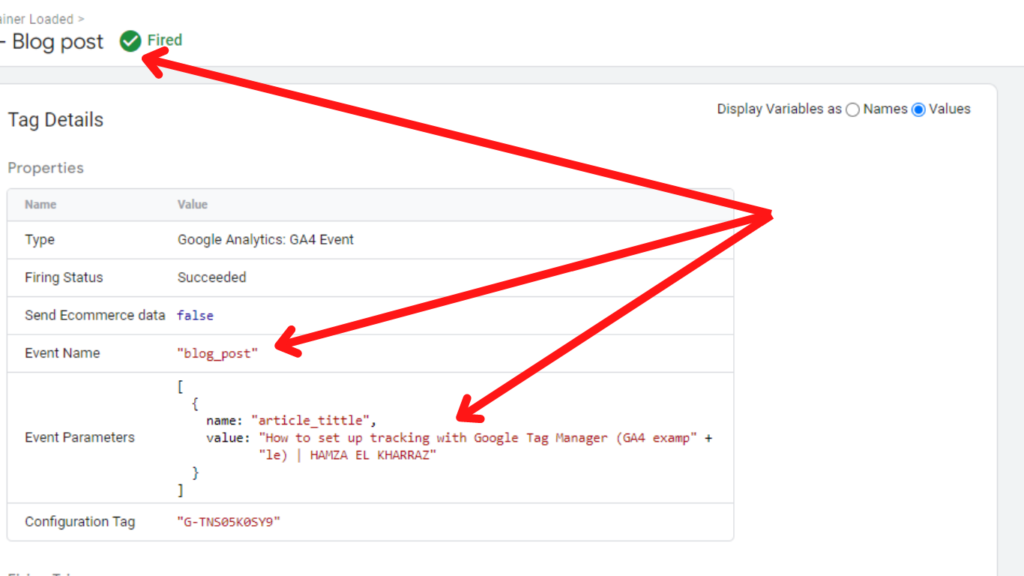
Test your tag:
Time to preview the changes and see whether our tag is firing properly.
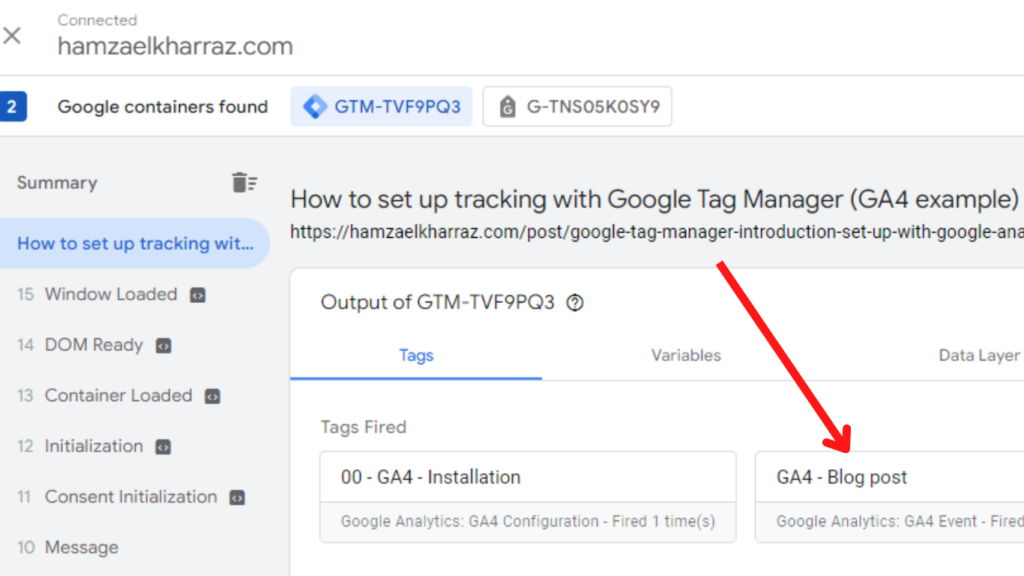
We can see that our tag has fired successfully on our post page. Let’s see whether we captured the title of the post. Same goes for our variable. We can see that we are capturing the values from the data layer and sending the data to GA4.
Last words about the data layer:
AS we’ve seen throughout this tutorial, the data layer is the most straightforward method of capturing clean data without worrying about the quality of our tracking.
For more tracking and GTM how to style articles, consider subscribing to the newsletter.